Test your flexibility
Three quick checks to prevent injuries
By Lindsay Dixon
You probably know that mobility and flexibility are critical for maintaining balanced running mechanics. But how flexible do you need to be, and in which parts of your body? The three simple flexibility tests described here can help you monitor your own flexibility, identify deficiencies – and fix them.
TEST 1 Hip Flexor Test
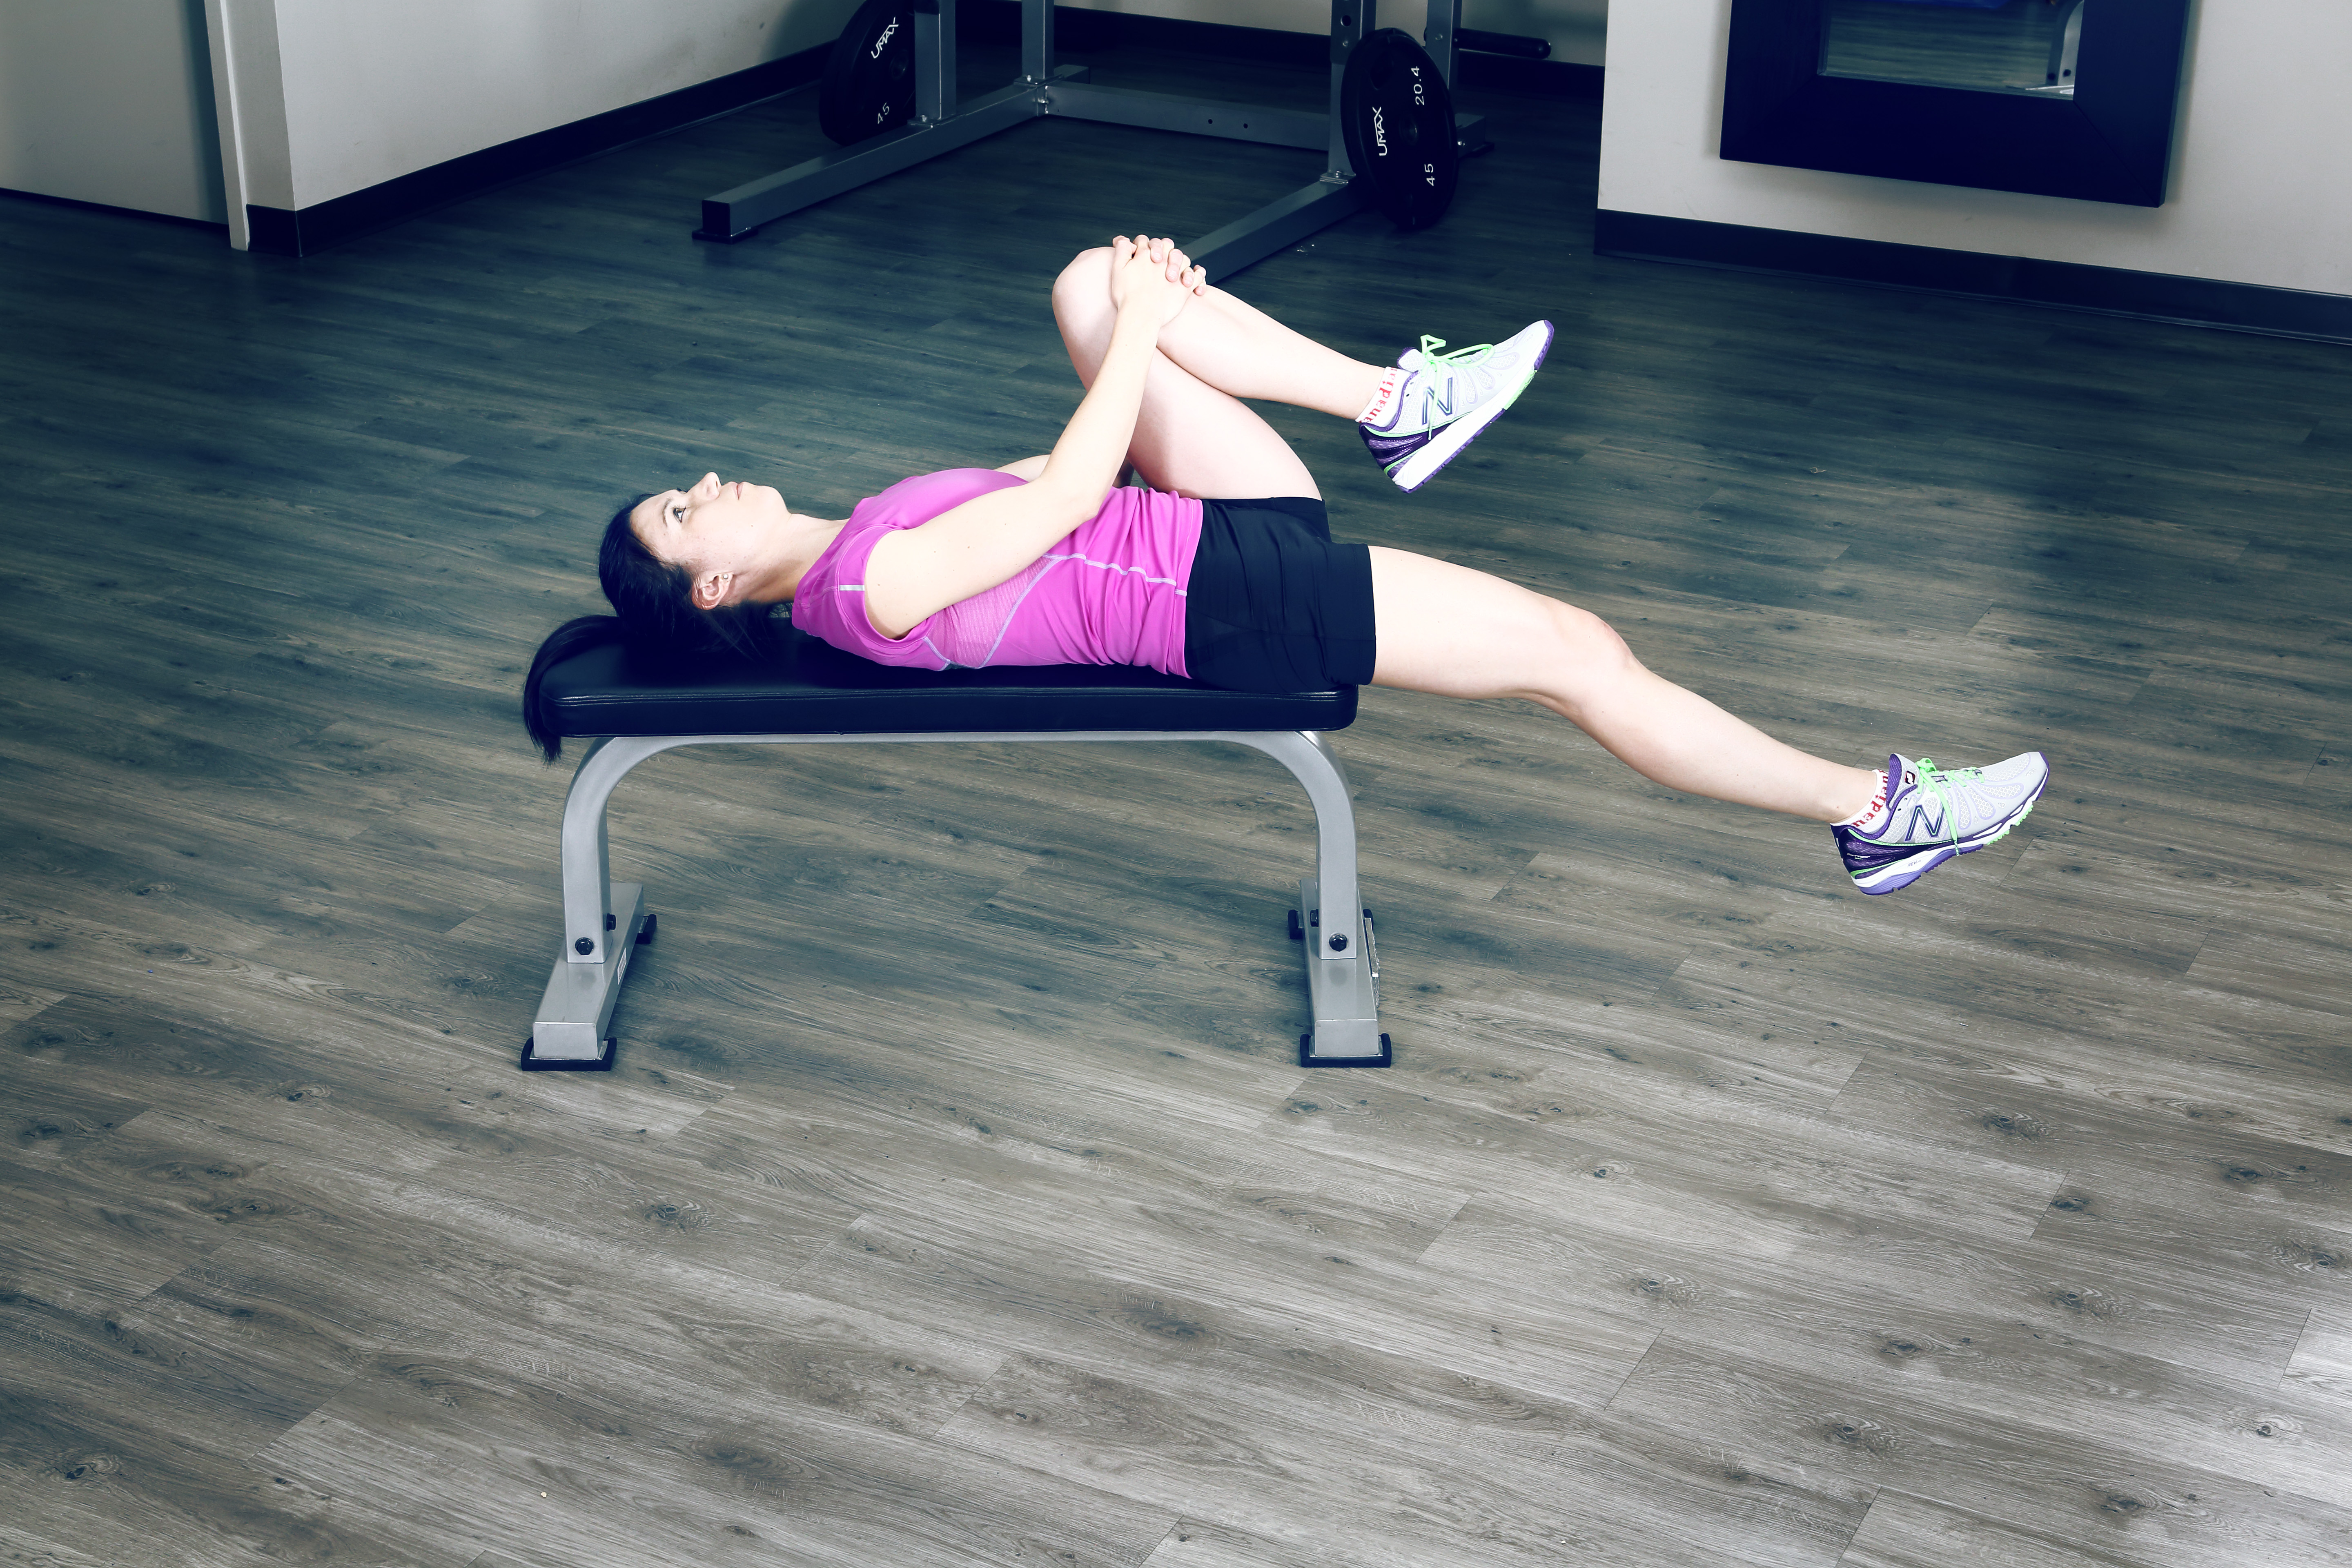
Position
Lie on your back on a table or flat bench. Bring your right knee toward your chest. Maintain the low back and tailbone flat on the table.
Interpretation
If you have good flexibility in your hip flexor, the left thigh should rest at or below the level of the bench or table. (It should hang off the edge.) If your left leg is pulled above the bench, this means that your hip flexor is tight.
Ideally, your left knee should flex at an angle of about 90 degrees. If it straightens more than that, it means there’s tightness in the quadriceps. If the leg moves out to the side, this means the tensor fascia lata or iliotibial band (itb) is tight.
Why is this test important?
Tight hip flexors contribute to low back pain. Flexibility in the hip flexors is important for pelvic mobility and stability. In addition, tight quadriceps and itb can alter alignment and contribute to knee pain.
How to improve?
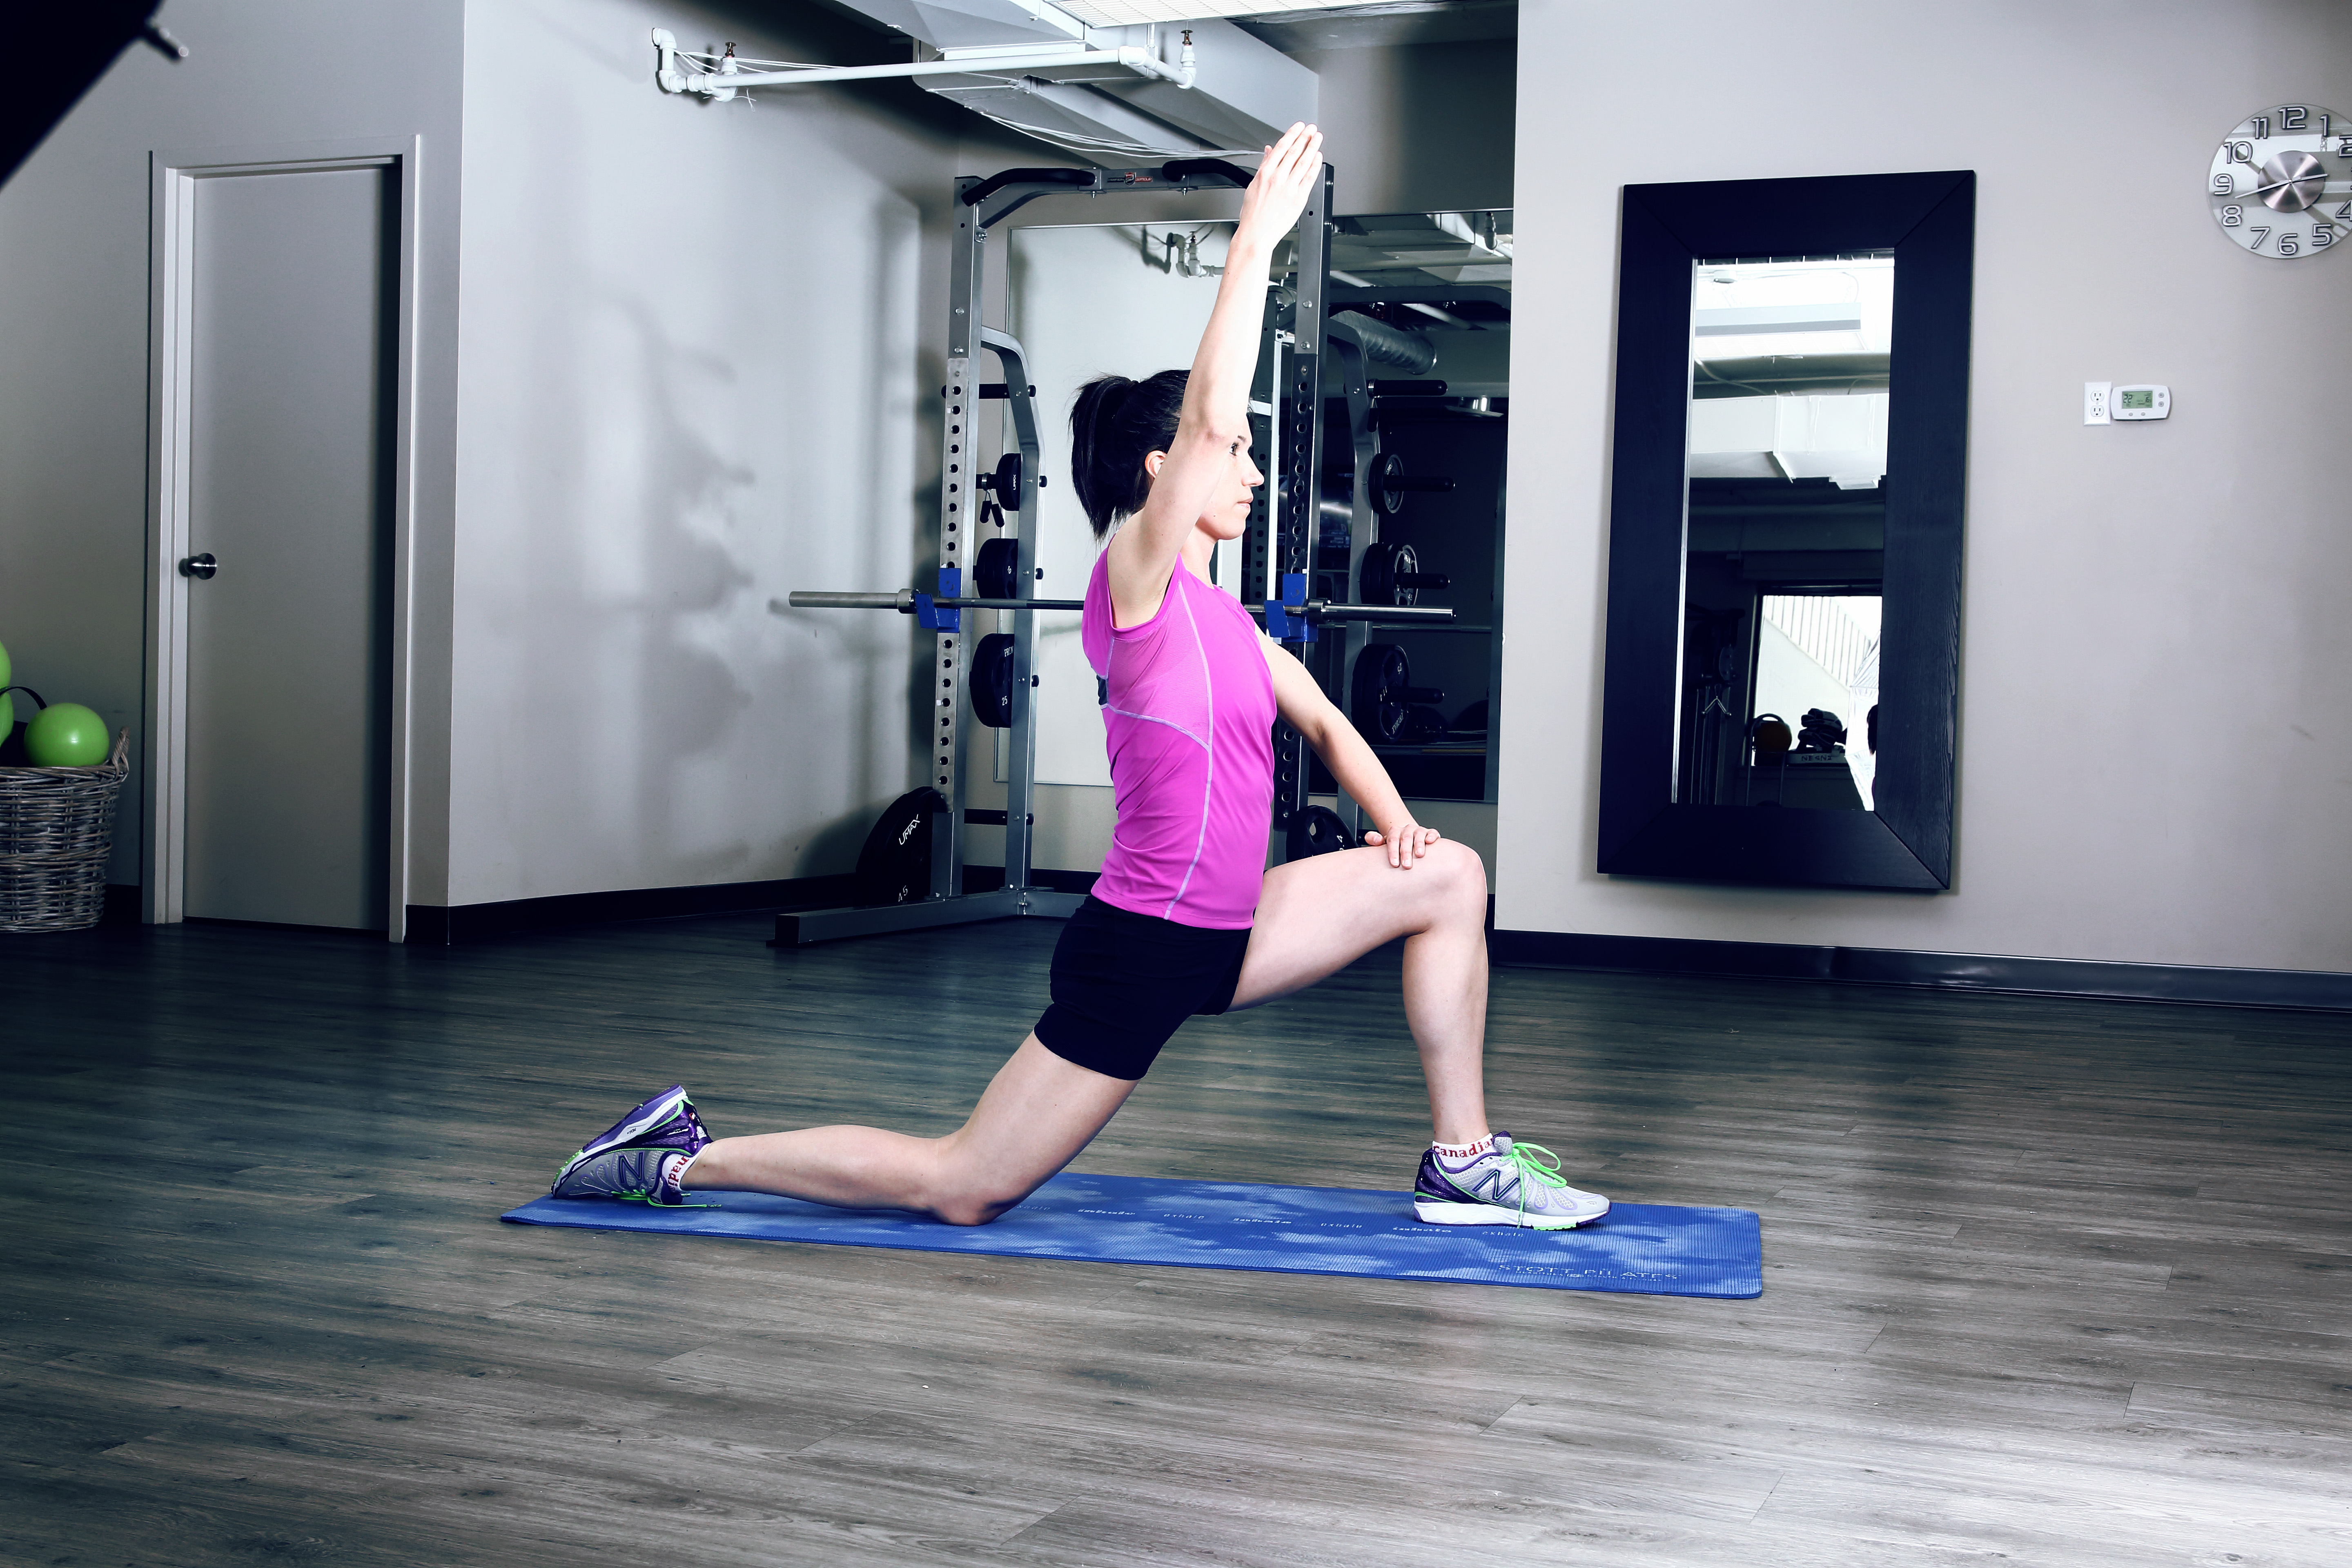 If your hip flexor is tight, perform the lunge stretch with arm overhead. Get into the lunge position: kneel on your right knee, with toes down, and place your left foot flat on the floor in front of you, knees bent and aligned with the ankle. Place your hands on left thigh for balance. Press hips forward until you feel tension or a gentle stretch in the front of your right knee. Extend your right arm over head. Hold for 30 seconds or until you feel initial tension subside. Repeat on both sides.
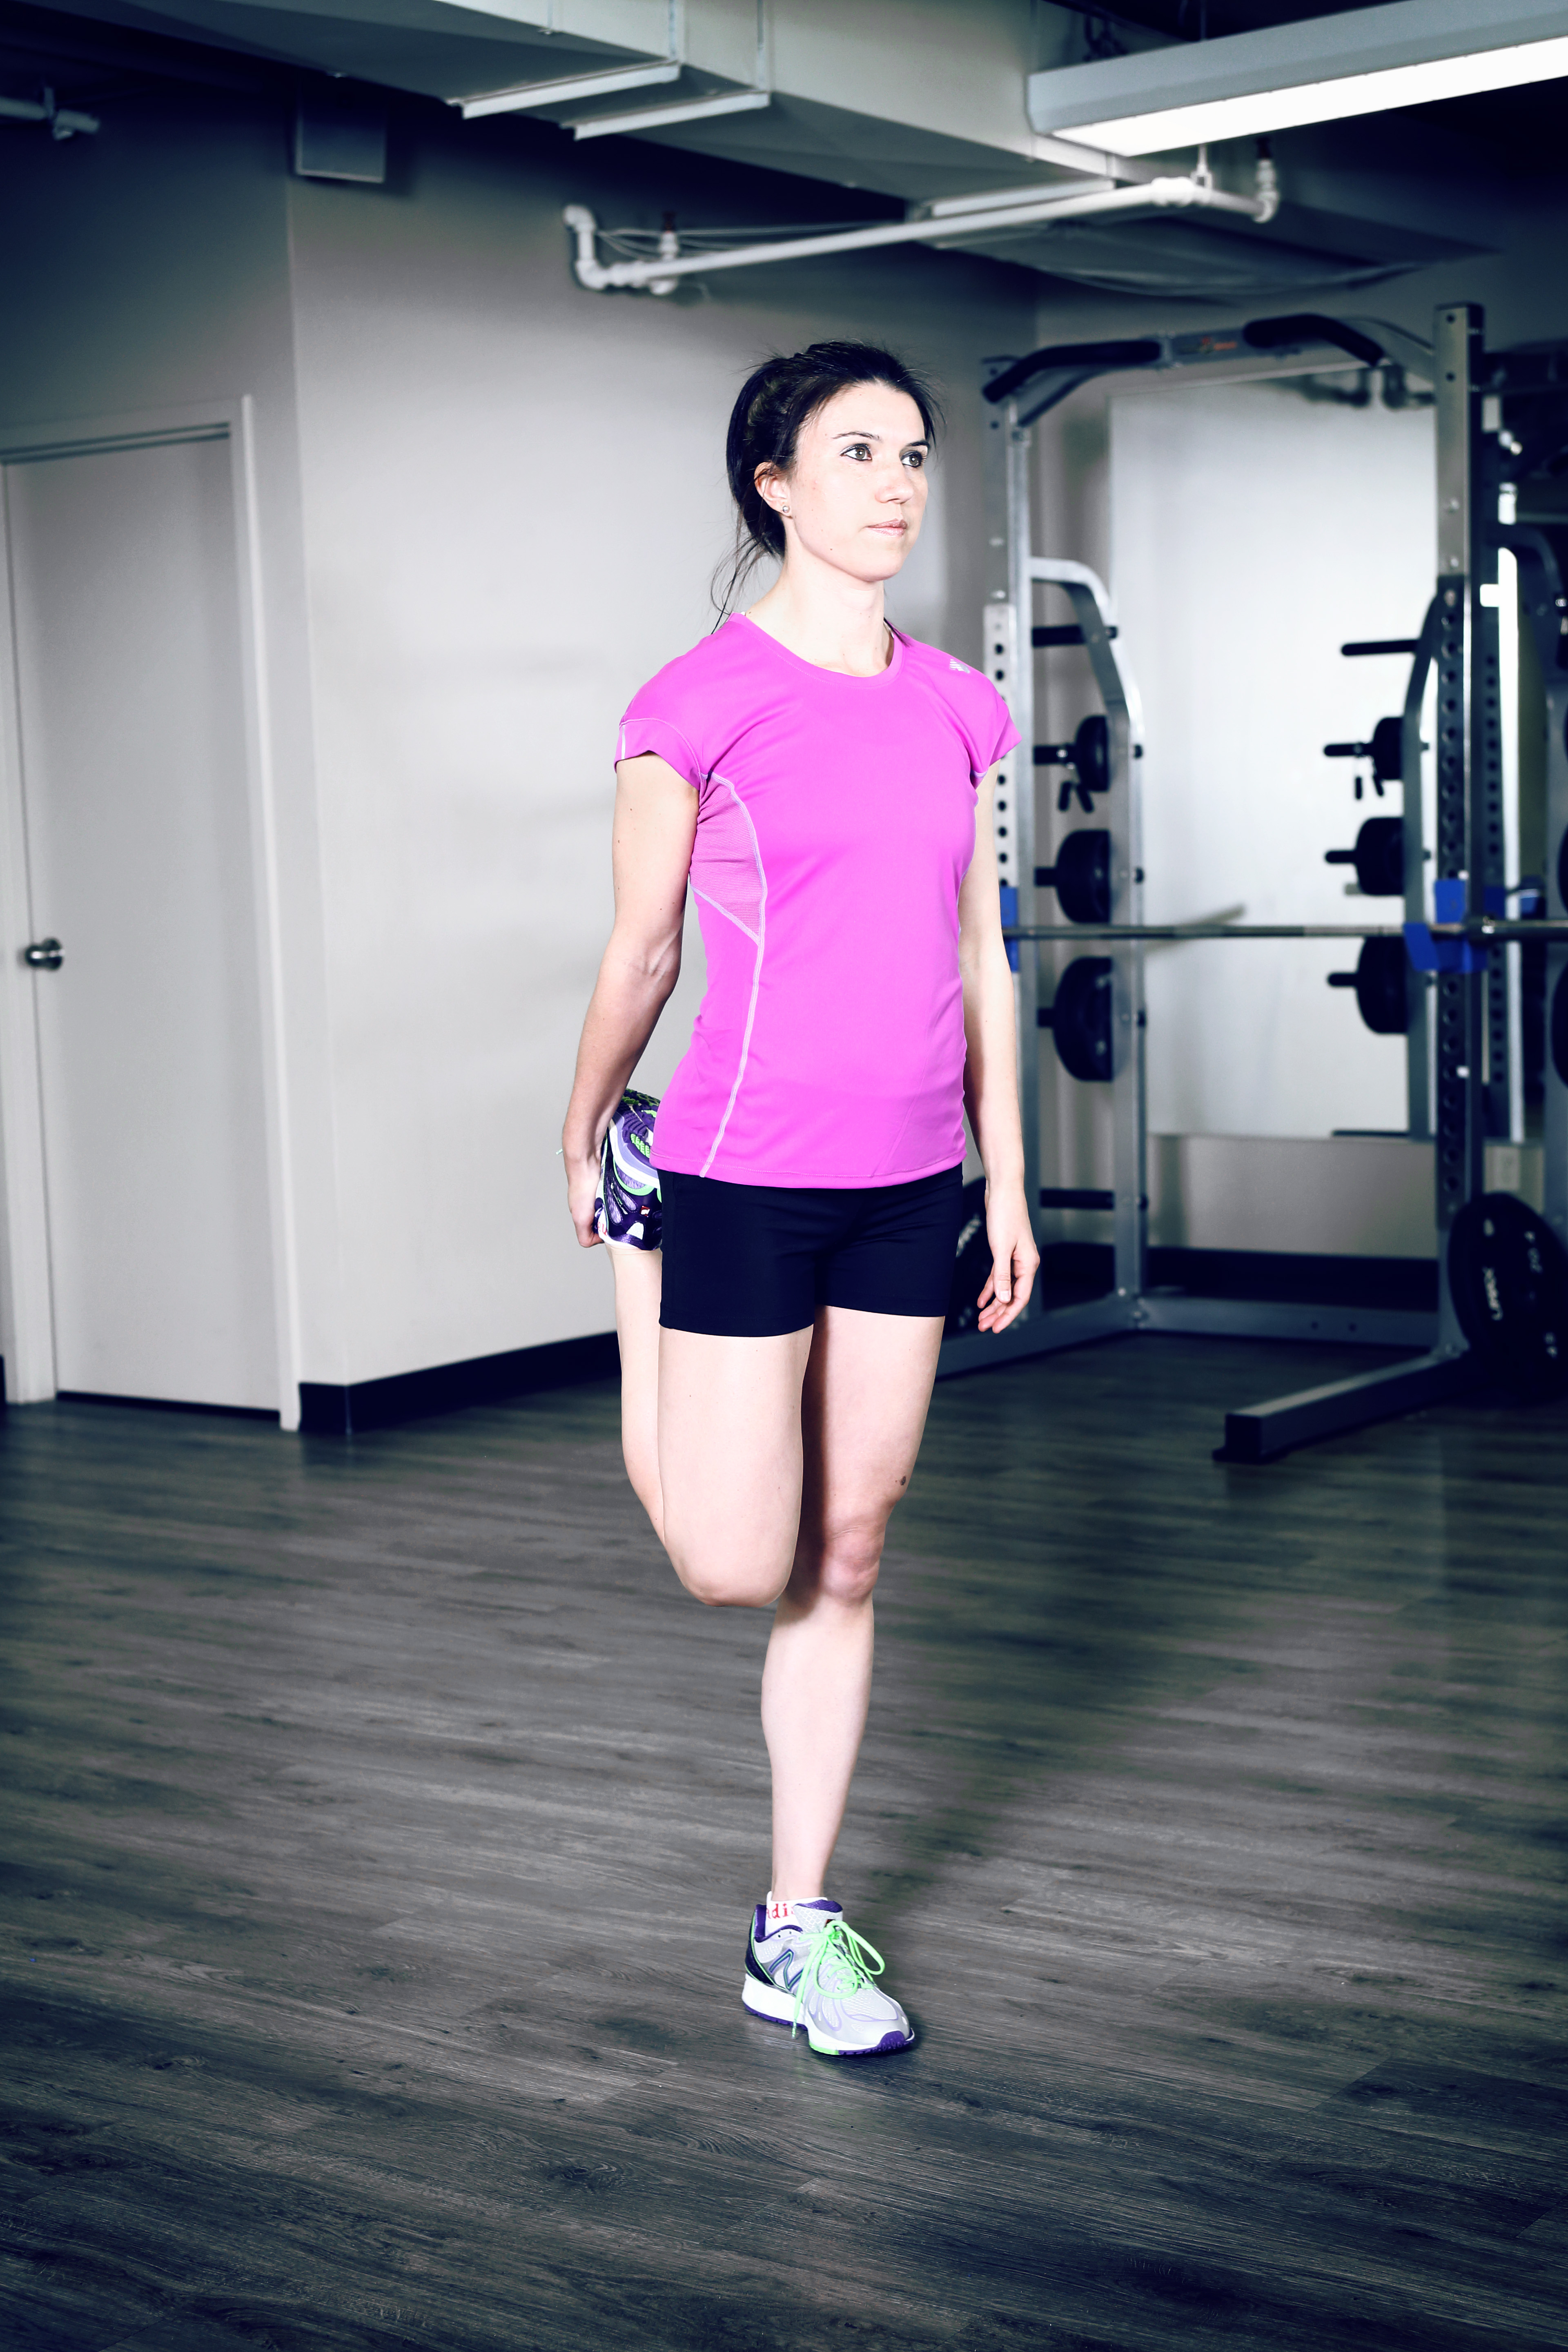 If your quadriceps are tight, do the standing quadriceps stretch. You can start by holding onto a wall or tree for support. Bend your right knee and with your right hand bring your heel toward your buttocks. Hold onto the ankle. Be sure to stand straight and not overarch your back. Both thighs should be together. If you cannot maintain a good posture, use a towel or tubing to assist in bringing your heel back. You should feel the stretch in the front of your thigh. Hold the stretch for 30 seconds or until the tension subsides. Repeat both sides.
If your itb is tight, perform the figure-four one-leg crossover stretch. Lay on your back with knees bent and feet on thefloor. Cross your left ankle over your right thigh. Lift your right foot off the floor and bring your right thigh close to your chest. Thread your left arm so that you are holding onto your right thigh. Use your left elbow to gently press your left knee away from your chest. Hold for 30 seconds or until tension subsides. This stretches your buttocks (glutes), which will reduce itb tension. Repeat on opposite side.
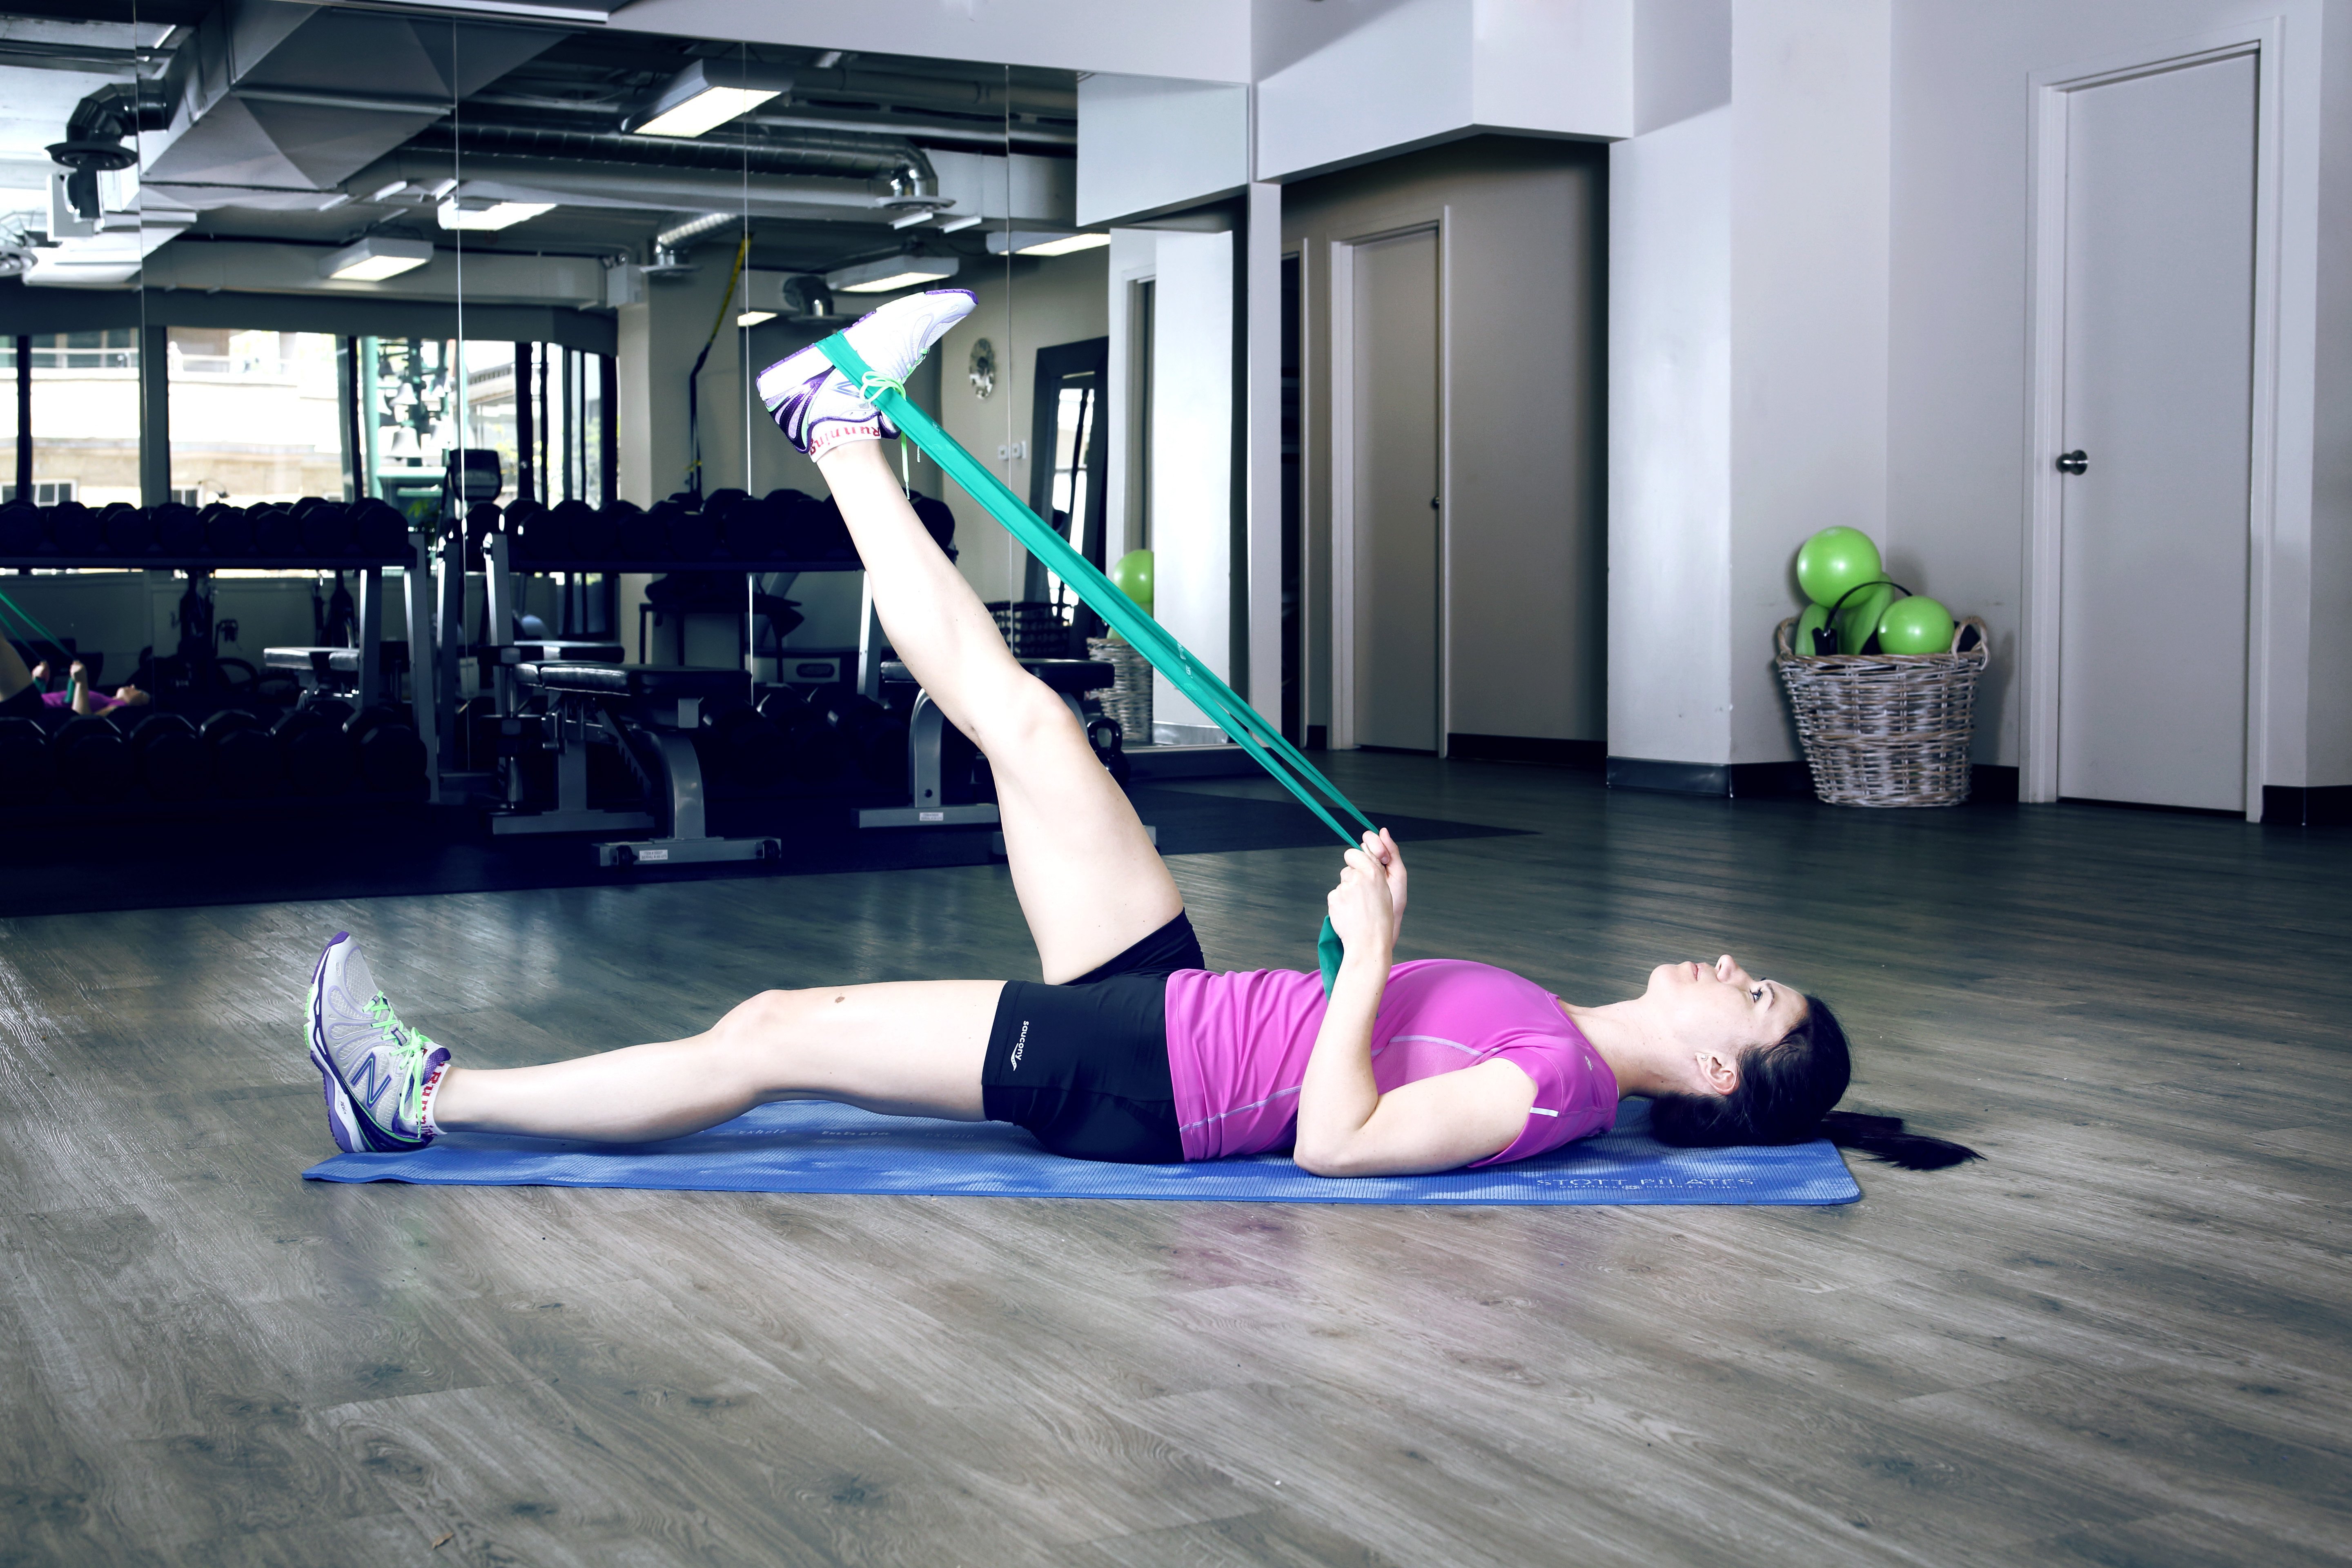
TEST 2 Hamstring Test
Position
Lay on your back on a bench or floor. Extend your legs. Your lower back and sacrum should be flat on the floor or bench. (If the lower back doesn’t flatten due to hip flexor tightness, you can place a pillow under the knee of the leg not being tested.) Raise one leg toward your chest using a towel or tubing around your foot if needed. Keep the leg straight. Also, keep your foot relaxed to avoid engaging the calf muscles.
Interpretation
Ideally, your extended leg and the bench or floor should form about an 80- to 90-degree angle or more; if so, this indicates that there is good flexibility in the hamstrings.
Why this test is important?
Hamstring flexibility is important to ensure proper hip, knee and pelvic mechanics. Good flexibility in hamstrings can help to prevent low back pain.
How to improve?
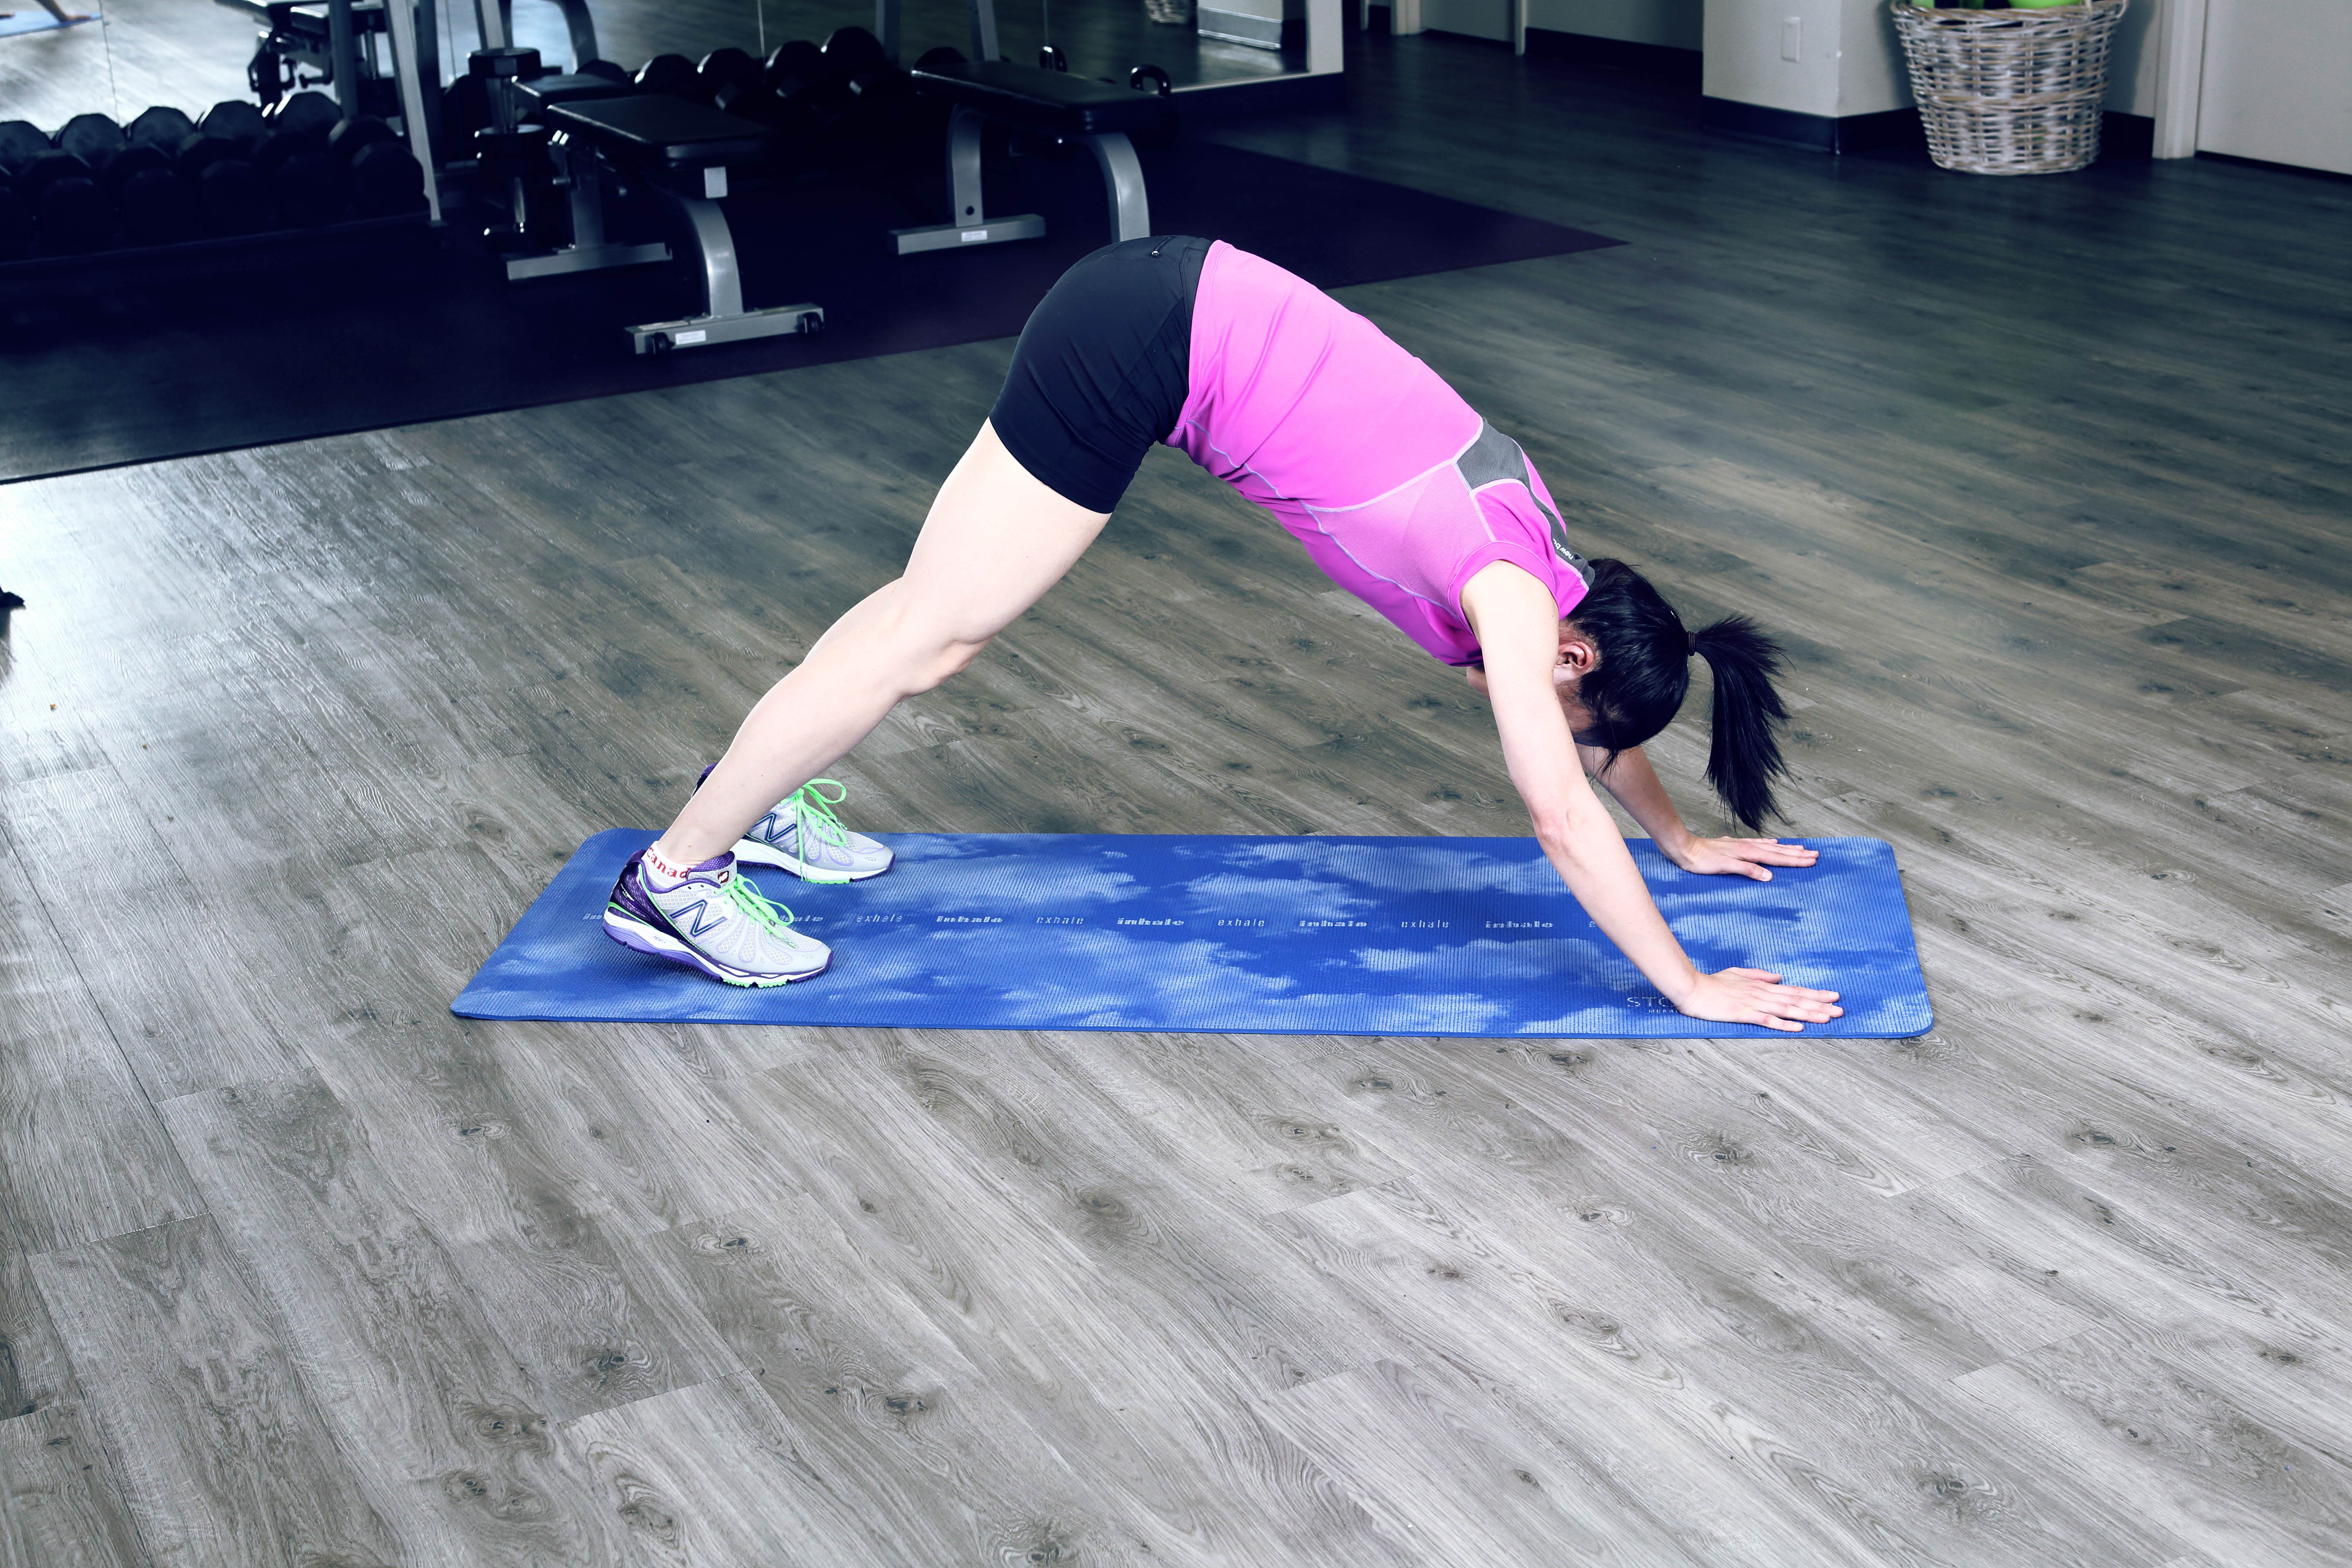 Try the downward facing dog, a yoga pose. Start on all fours with knees approximately hip width apart. Curl your toes under and lift your knees off the floor. Lift your sit bones up and back towards the ceiling to lengthen your spine. Press your palms and shoulders towards the floor so your neck is relaxed. The first few times performing this stretch, knees should be bent in order to not overstrain your muscles; as you get more flexible, slowly straighten the legs without locking your knees. Coming out of the pose, lower your knees to the floor to end on all fours. Start by holding the pose for 10 seconds and repeat three times. Gradually work up to 30 to 60 seconds at a time.
TEST 3 Trunk Flexibility Test
Position
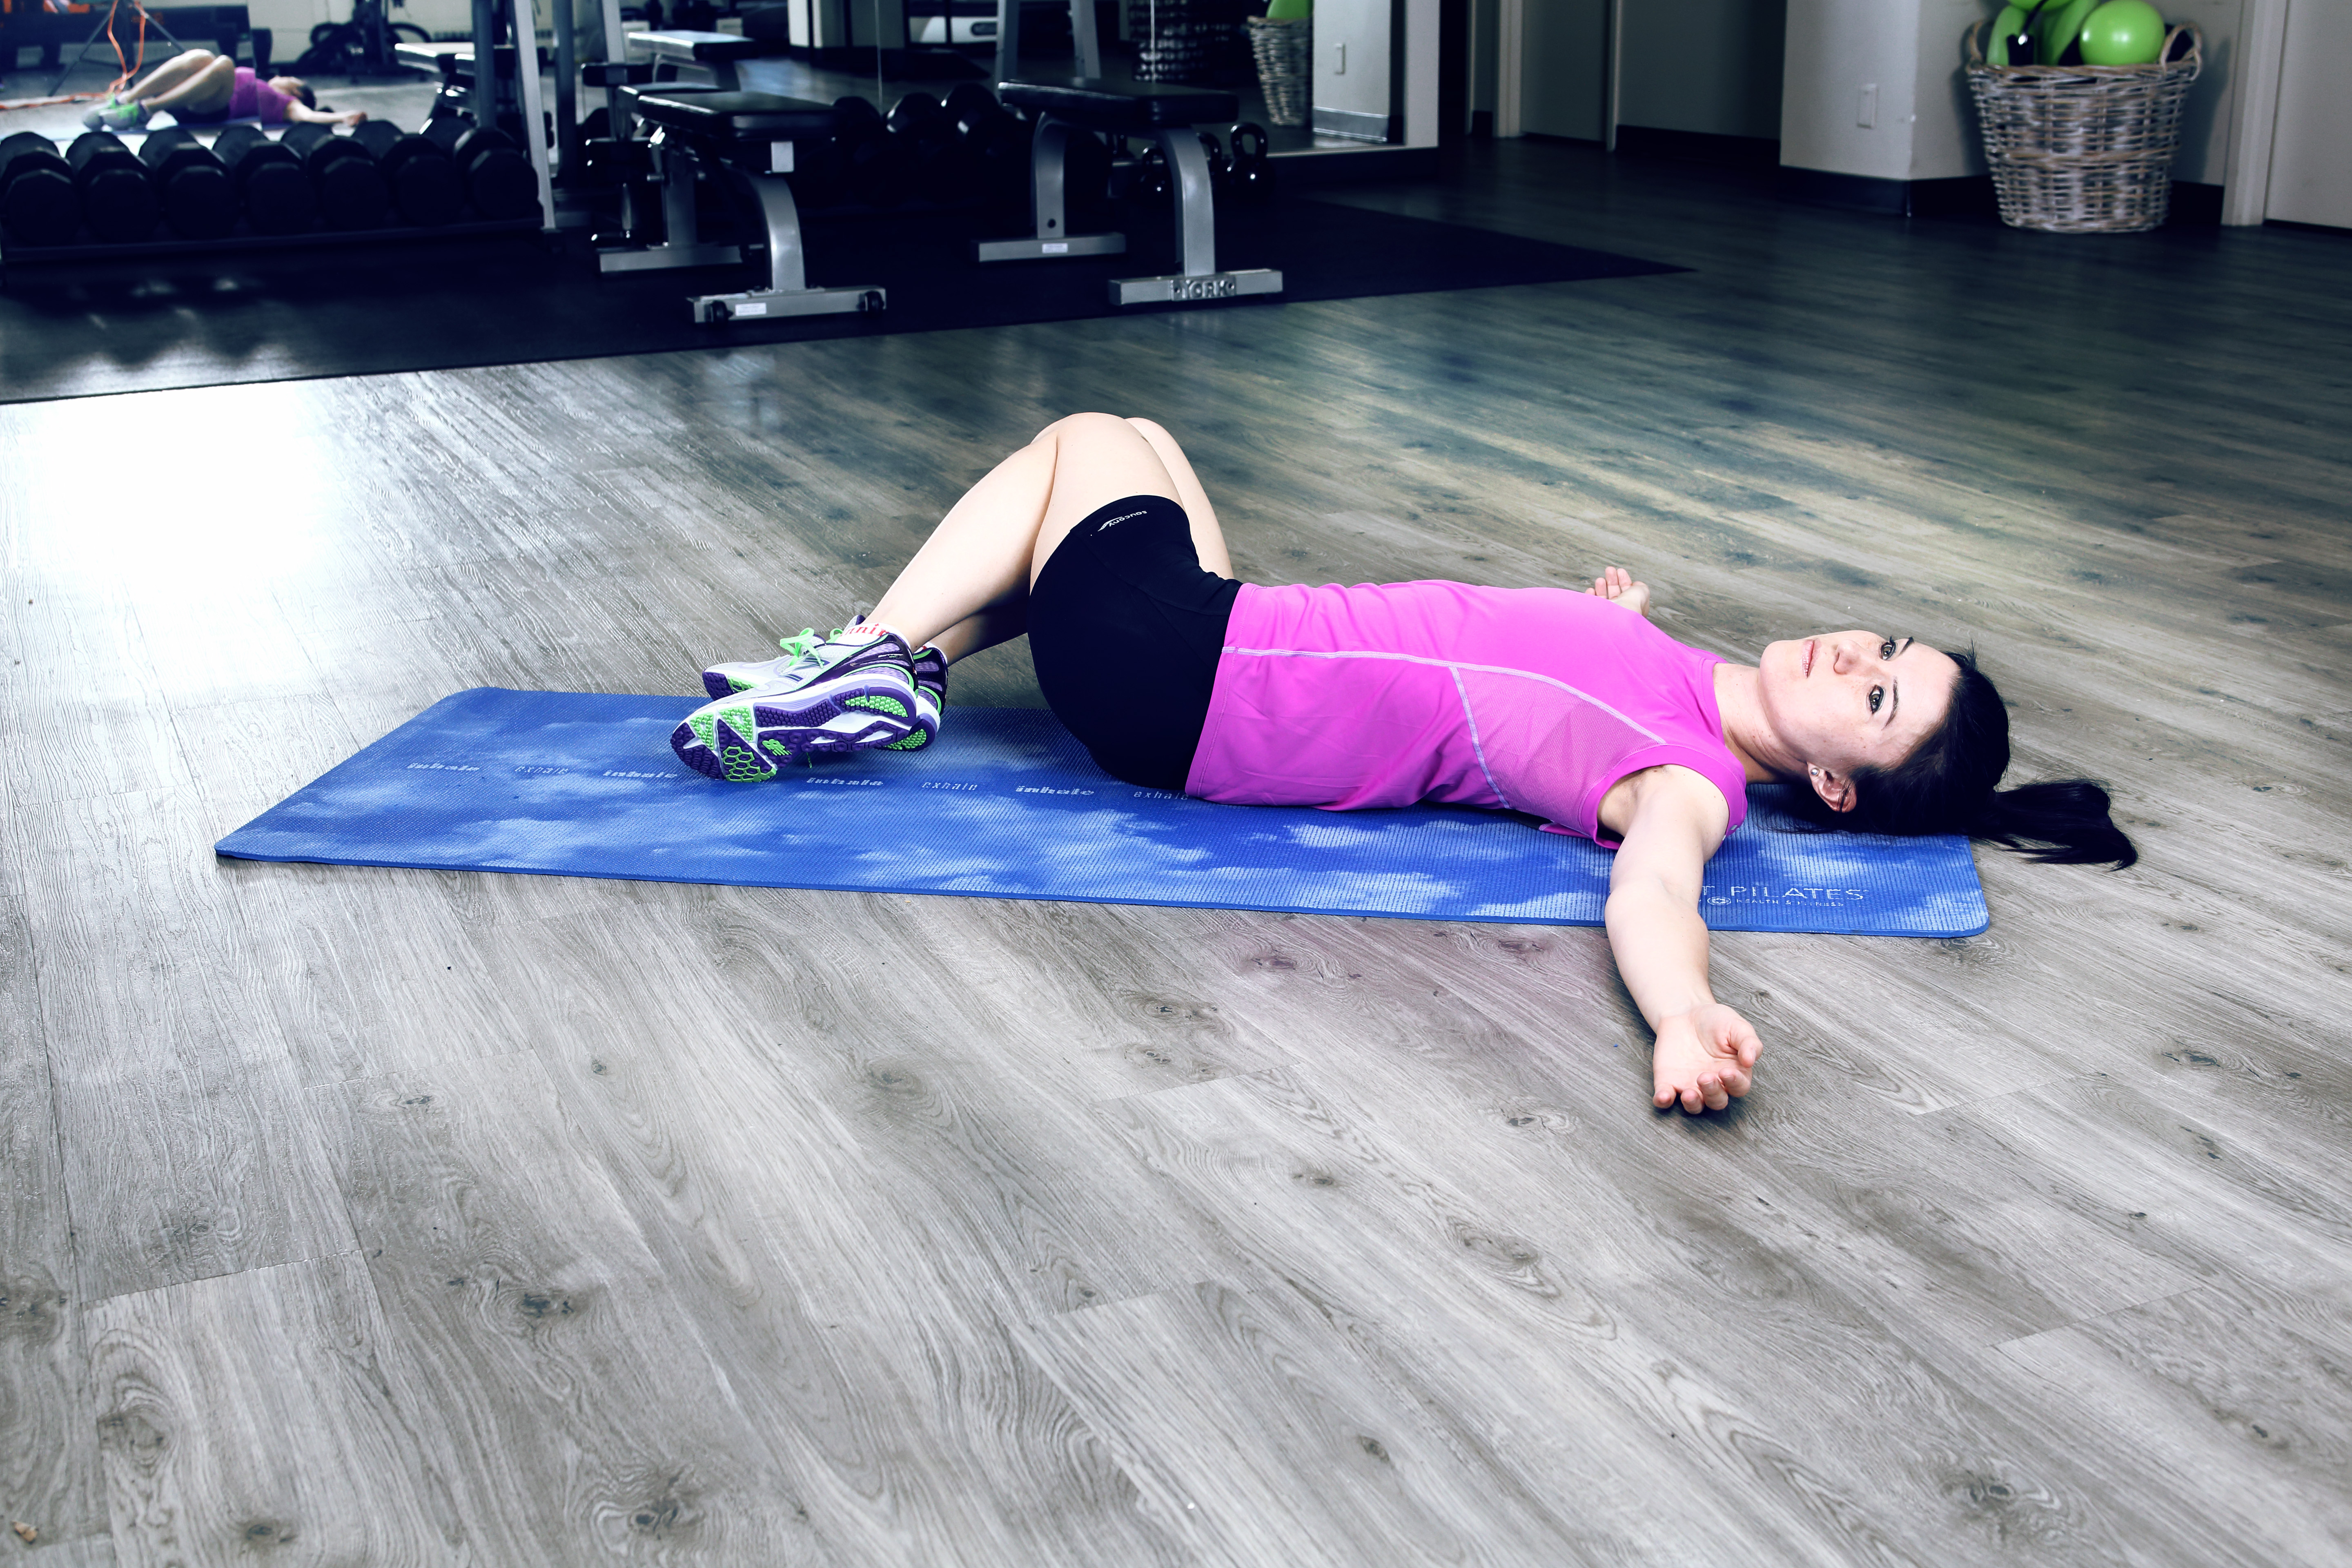
Lie on your back with knees bent and feet flat on the floor. Put your arms out to the side at approximately shoulder level with palms facing up. Slowly lean your legs to the right side, until you feel a stretch, and note if your left shoulder starts to immediately rise off floor. Repeat on the other side.
Interpretation
The side where your shoulder can’t stay on the ground is the side on which you have less trunk flexibility and dissocia- tion between your trunk (upper body) and pelvis (lower body).
Why this test is important?
Decreased trunk flexibility can contribute to excessive load on one side of body. As a result, areas that should be dispersing force end up absorbing it instead, resulting in overuse injuries including Achilles tendinitis, itb syndrome, and shin splints.
How to improve?
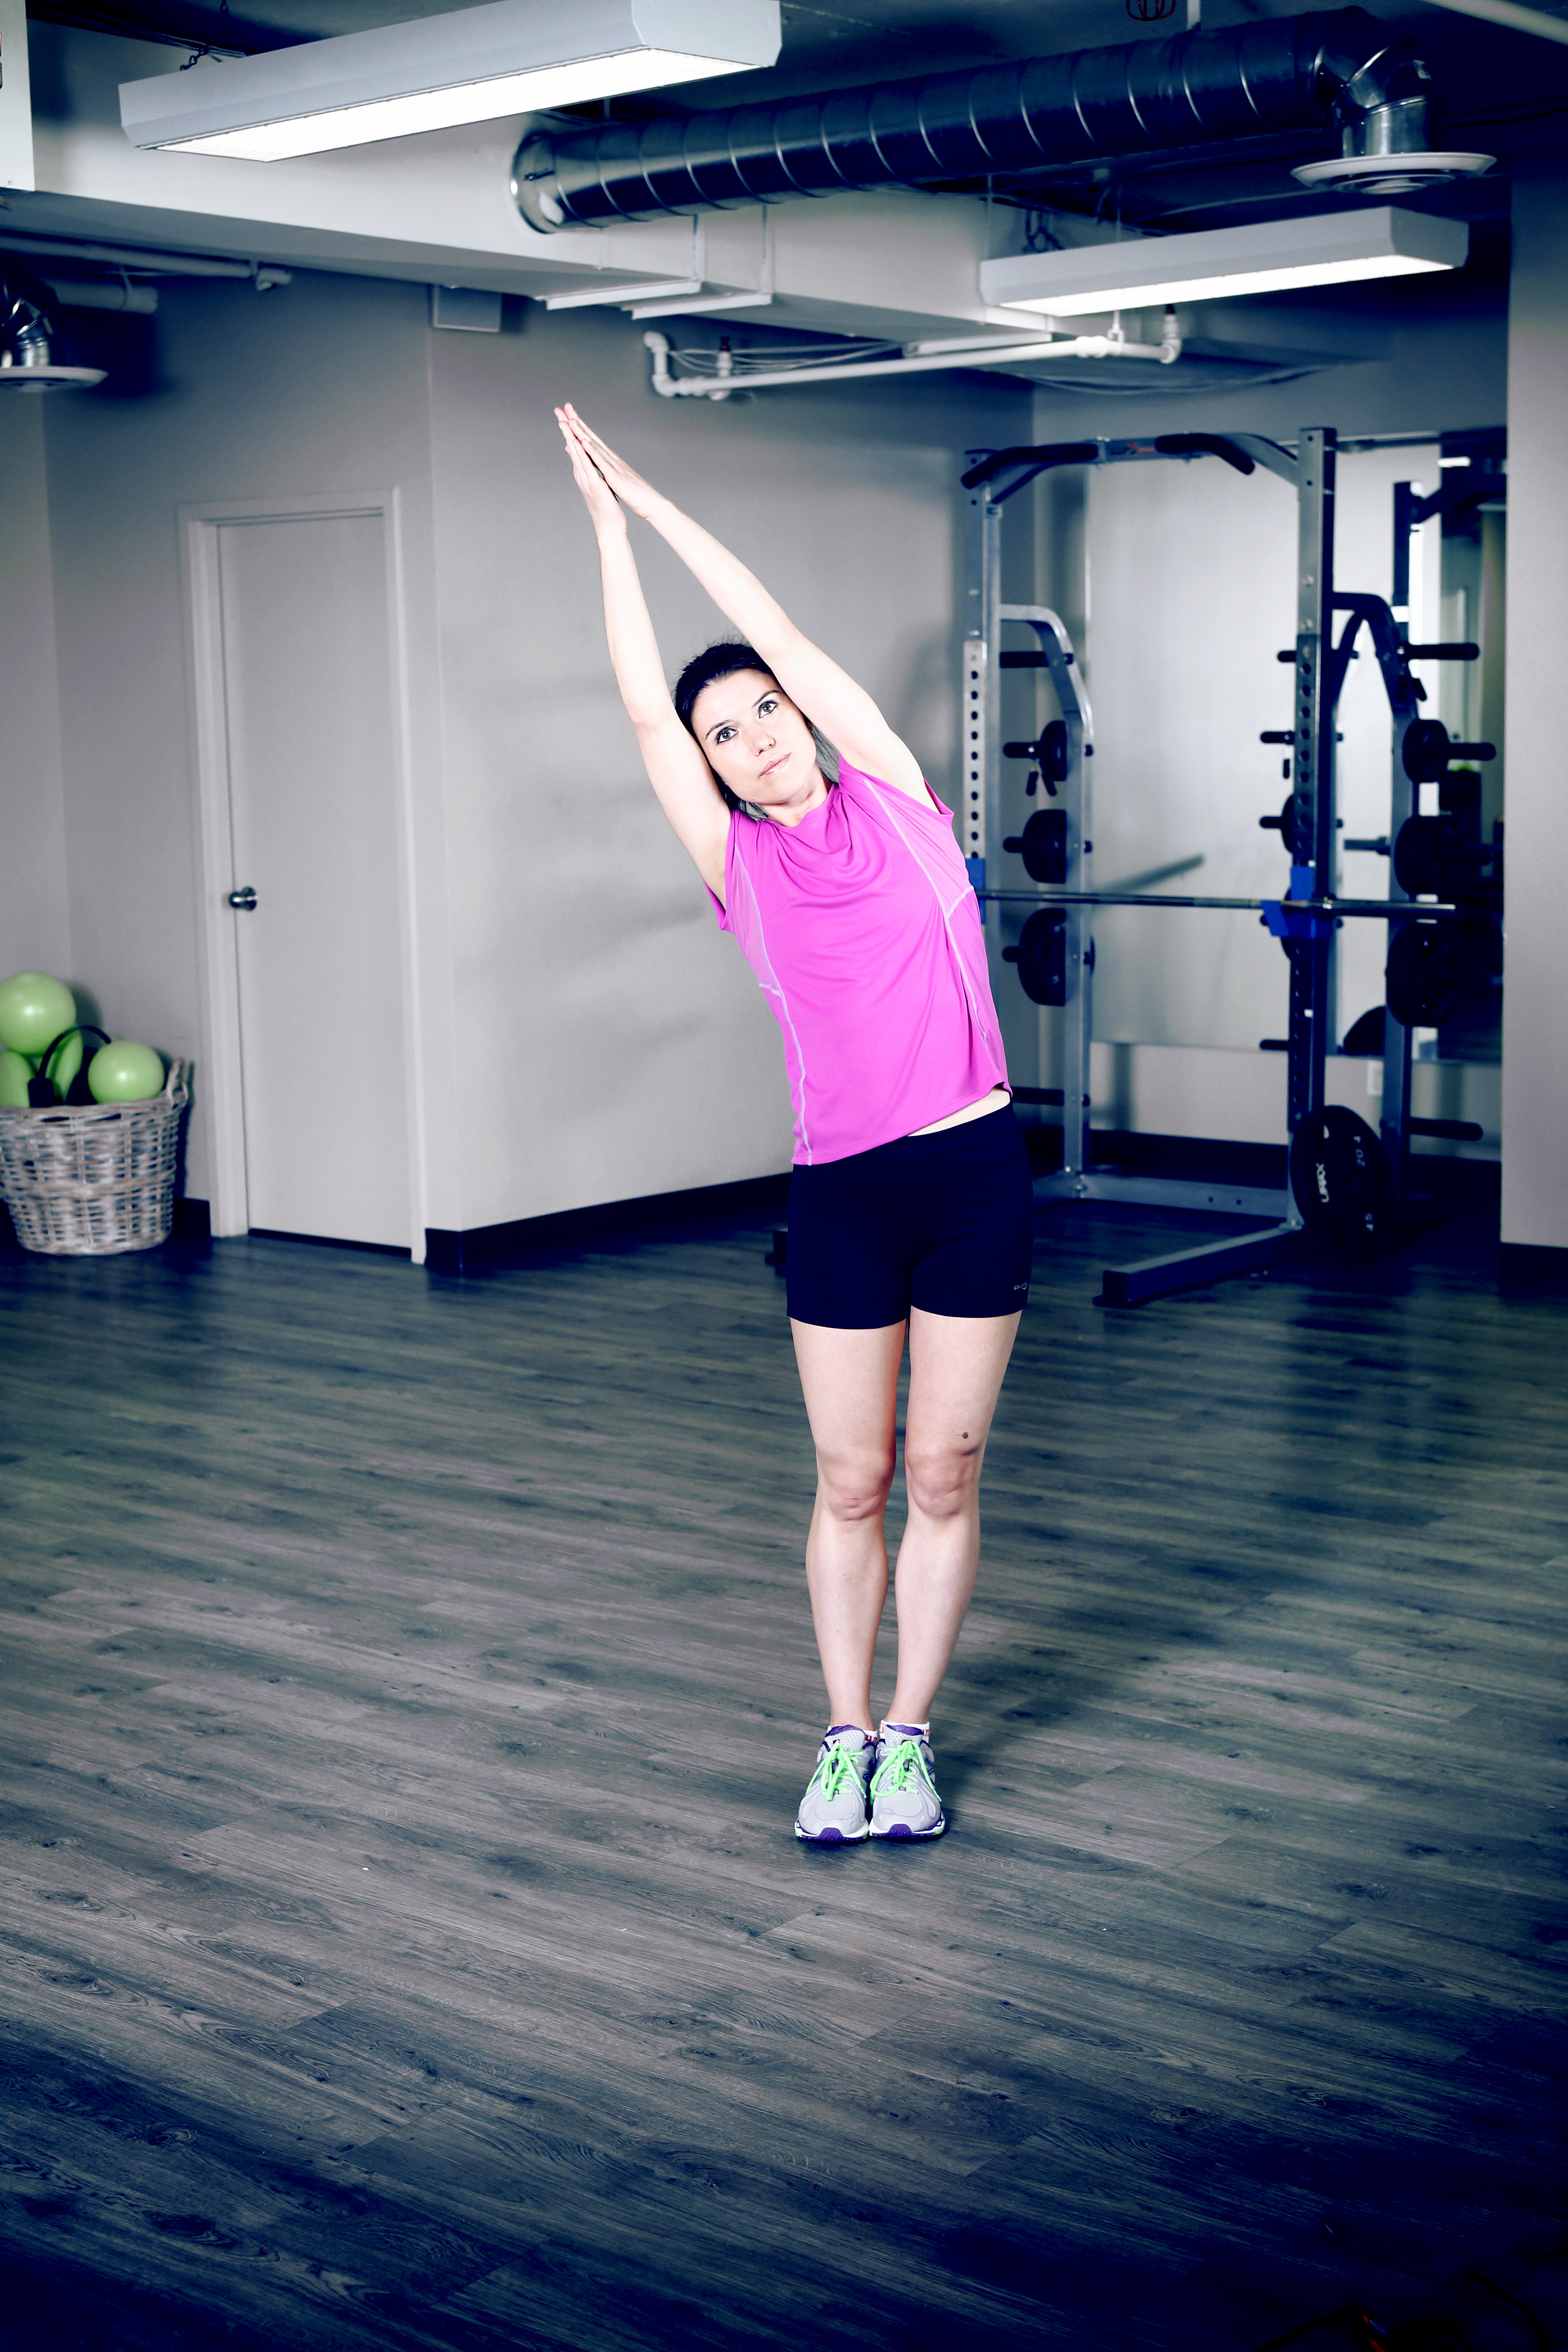 The side-bending stretch helps increase flexibility between your rib cage and pelvis. Stand with your feet together and arms overhead, palms together. Think of lengthening your spine, and keep shoulders relaxed. Slowly lean to the right side with your trunk. Reach with your arms to the ceiling while planting your feet into the ground. You should feel a stretch on the left side of your trunk. Hold the stretch for 10 seconds and three repetitions, and work up to holding for 30 seconds on each side.
Check out the latest buyer's guide: